Install and Configure the ProjectWise Analytics Data Upload Service
- Download the ProjectWise Analytics Data Upload Service from Bentley's Software Fulfillment Center .
- Extract the download package and double-click the ProjectWise Analytics Data Upload Service v1.0.msi file to install the service.
-
When the Setup Wizard opens, click Next, read and accept the license agreement, and accept all default settings to complete the installation.
The installer delivers two components - the Upload Service and the Upload Administrator. You can install each component on its own computer, but for the sake of simplicity this procedure assumes you are installing both on the same computer. The upload service does the actual work of uploading data to the ProjectWise Project Performance Dashboards service, while the upload administrator, which opens at the end of installation, is used to configure which databases the upload service will upload data from, and optionally set a schedule for uploading.
-
When installation is complete, turn on the option to Launch Analytics Data Source Administrator and click Finish.
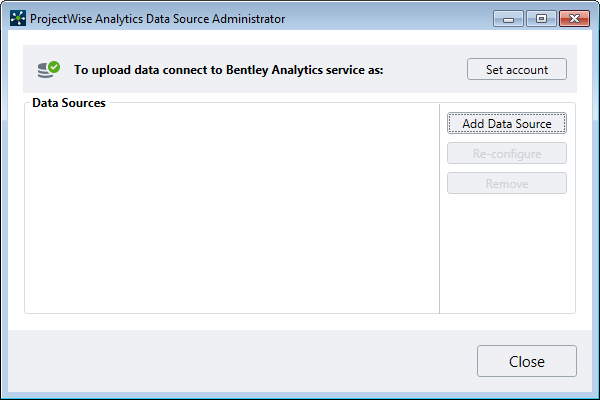
The Analytics Data Source Administrator window opens.
-
Click Set account to sign in with your Bentley account.
After signing in, the following dialog opens:
- Click Allow.
- Back in the Analytics Data Source Administrator window, click Add Data Source. This opens the Data upload pipeline configuration wizard, which is used to specify and configure which ProjectWise database and optionally which Bentley Transmittal Services database the upload service will upload data from.
- When the wizard opens, click Next.
-
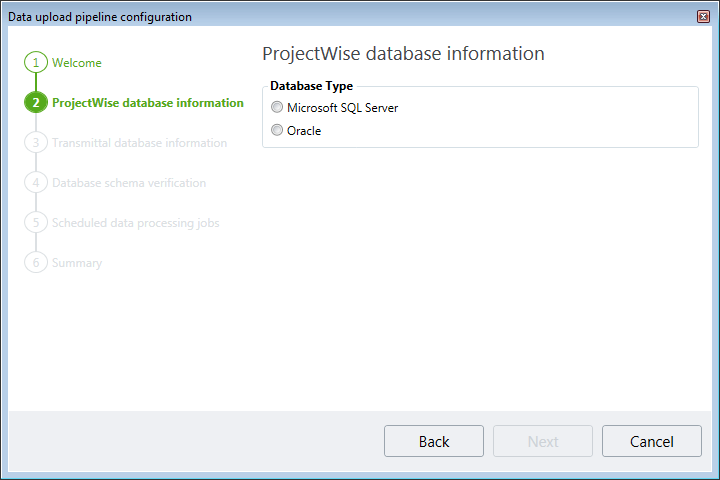
On the ProjectWise database information page, do the following:
- Set Database Type to Microsoft SQL Server or Oracle, depending on which database ProjectWise is using.
-
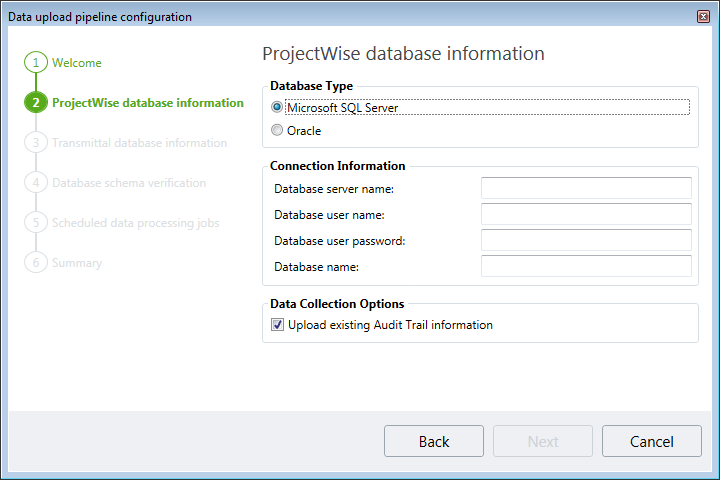
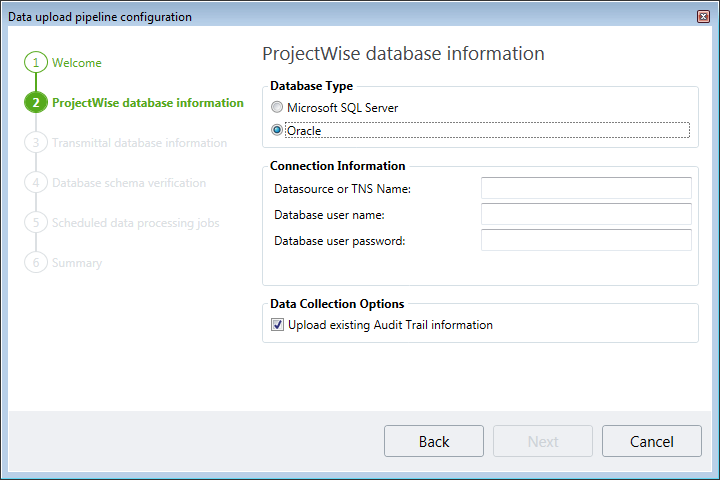
Enter the Connection Information of the specific ProjectWise database you want the service to upload data from:
SQL Server:
- Database server name - Enter the name of the computer on which the database server is installed. For SQL Server databases: If your SQL Server installation has named instances, enter the name of the computer, followed by a backslash, followed by the SQL Server instance name you want to connect to. For example, computername\SQLServerinstancename.
- Database user name - Enter the name of the database user who has access to the database you want to connect to on the specified database server.
- Database user password - Enter the password of the specified database user.
- Database name - Enter the name of the database on the specified database server you want to connect to.
Oracle:
- Upload existing Audit Trail information - Leave this option on (the default) if you want the service to collect ProjectWise audit trail information from the database. Turn this option off if you do not want to collect audit trail information.
-
Click Next.
-
On the Transmittal database information page, do one of the following:
If you never installed Bentley Transmittal Services, or if you have but do not want to upload data from its database, just click Next.
or
Otherwise turn on Transmittal Services V1.0 is configured, enter the Connection Information of the Bentley Transmittal Services database you want the service to upload data from, and click Next.
Connection Information:
- Database server name - Enter the name of the computer on which the database server is installed. If your SQL Server installation has named instances, enter the name of the computer, followed by a backslash, followed by the SQL Server instance name you want to connect to. For example, computername\SQLServerinstancename.
- Database user name - Enter the name of the database user who has access to the database you want to connect to on the specified database server.
- Database user password - Enter the password of the specified database user.
- Database name - Enter the name of the database on the specified database server you want to connect to.
-
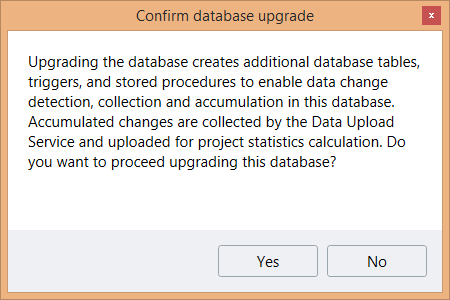
On the Database schema verification page, do the following:
When configuring a database for the first time, the database will not yet be instrumented for analytics data collection and you must upgrade the database to continue.
-
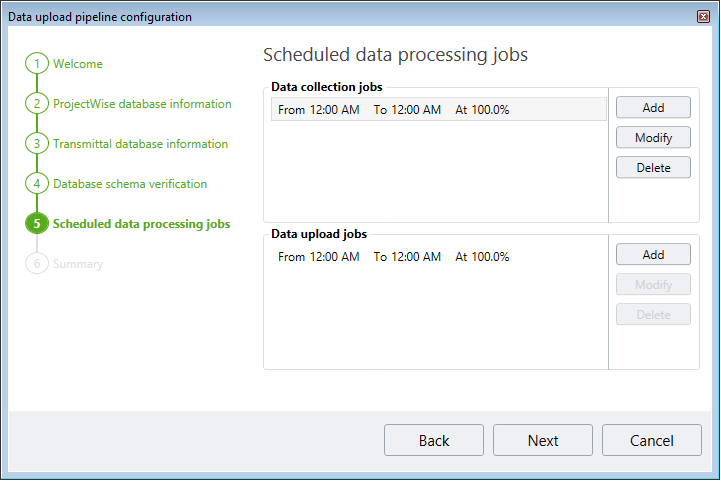
On the Scheduled data processing jobs page, configure schedules for running data collection and data upload jobs (these are two separate jobs) and click Next when finished.
For data collection and data upload, each has a default schedule defined. You can edit the default schedules (select one and click Modify) or use them as is. You can also click Add to define new schedules.
-
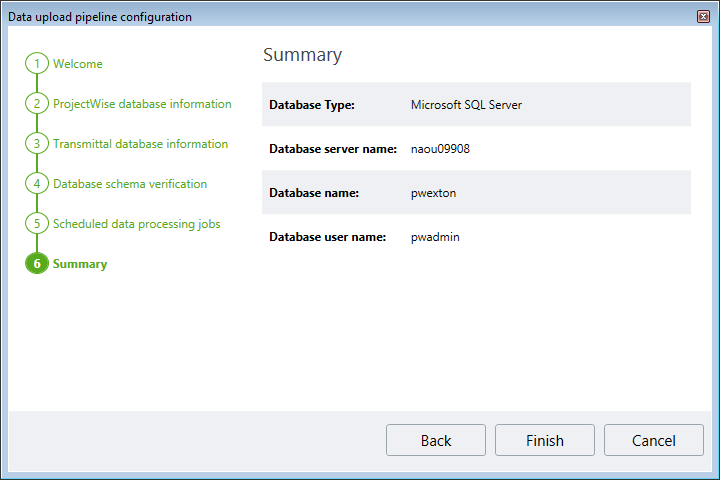
On the Summary page, click Finish.
The new configuration is added to list of datasources in the Analytics Data Source Administrator window.
- Click Add Data Source if you want to connect to more databases, otherwise click Close.


The ProjectWise Analytics Data Upload Service will begin collecting and uploading data to the ProjectWise Project Performance Dashboards service according to the configured schedules.
- After datasource configuration and the first run of the service, the transaction log can fill up quickly.
- Data upload and processing could take up to a few hours or more depending on the size of your database. Data will not be available in the ProjectWise Project Performance Dashboards portal until data upload and processing is finished.